 My daughters both have spring birthdays. I have spent the last 2 months hearing about, talking about, planning, worrying about, preparing for and celebrating little girl birthdays. When it comes down to it, I just want to see them blow out that candle and the flickering fire of joy in their eyes. That is a special moment.
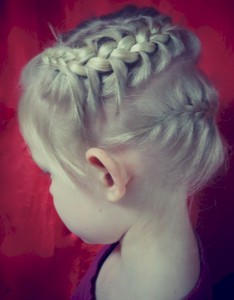
In honor of my daughter Marley’s 6th birthday, here is the HBD braid. The braid to help the little gals feel like queens for a day. Next year, I will make one for my little Selah too, but she doesn’t have enough hair yet.
This hairstyle is great for shorter-medium length hair. If the hair is very fine and slippery, prep it with texture spray. Here is my favorite DIY sea spray for adding grip to the hair.
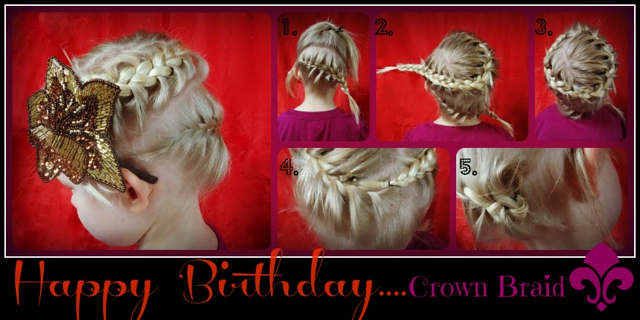
Here is how to get this look…..
1.Part the hair across the back of the head, from the top of one ear across to the top of the other. Start a french braid on the left side of the bottom section. Braid all the way across the back, and secure the free end with a clear elastic.
2. Make a side part on the left side of the head. Start a french braid on the heavy side, and braid it around the head. Braid in all the hair from the top section. Your braid should end on the light side of the part ( left side, in this case) Secure the end of the braid with elastic.
3. Now take the tail of your round-the-head braid, and tuck it under the beginning of the braid, so that it looks continuous.
4 Bobby pin the tail in discreetly.
5. Take the tail of the back-of-the-head braid and push it back behind the braid and pin it to secure it.
Now, add a headband, feather fascinator, vintage brooch, comb, clip, something pretty and sparkly! HBD, baby.
XOXO, HTHG
