 Ever thought about cutting your own hair? Have you tried it? It is really fun and liberating but it can also be intimidating and a flat out mess.
Before we jump in on your DIY cut, let’s talk about great haircare that is simple and no fuss- My favorite 4 tools/products are Hairstory Studio New Wash and Balm for that not-too clean natural finish- I use New Wash about once every week to 2 weeks instead of Shampoo- It is creamy, non lather, smells great, and leaves nothing heavy behind. I love the Hairstory Balm for finishing my curls once they are dry- it adds a little soft texture and tames the wildness just enough.
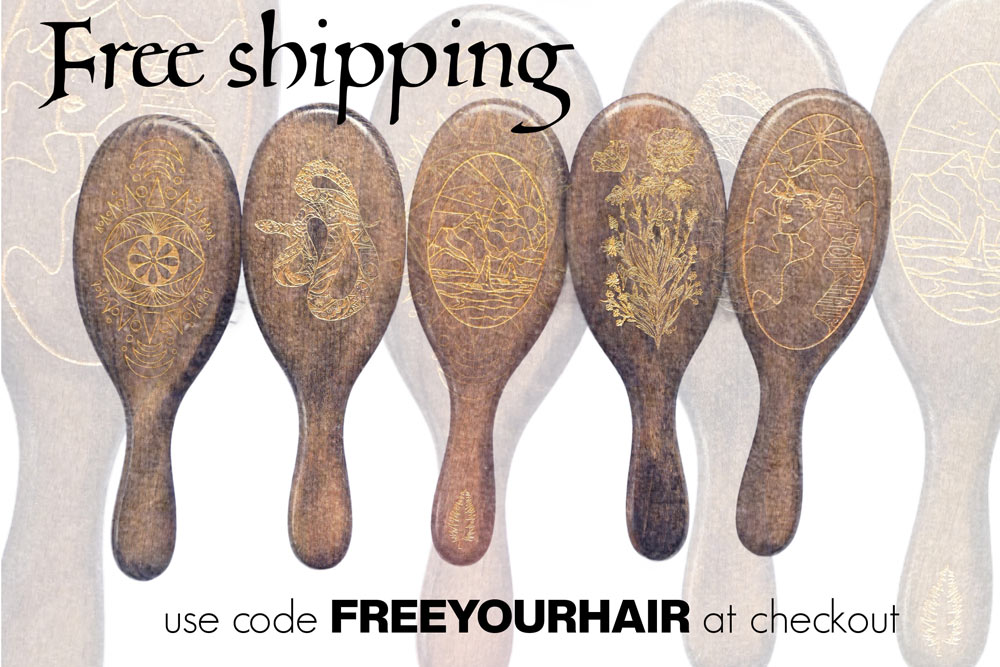
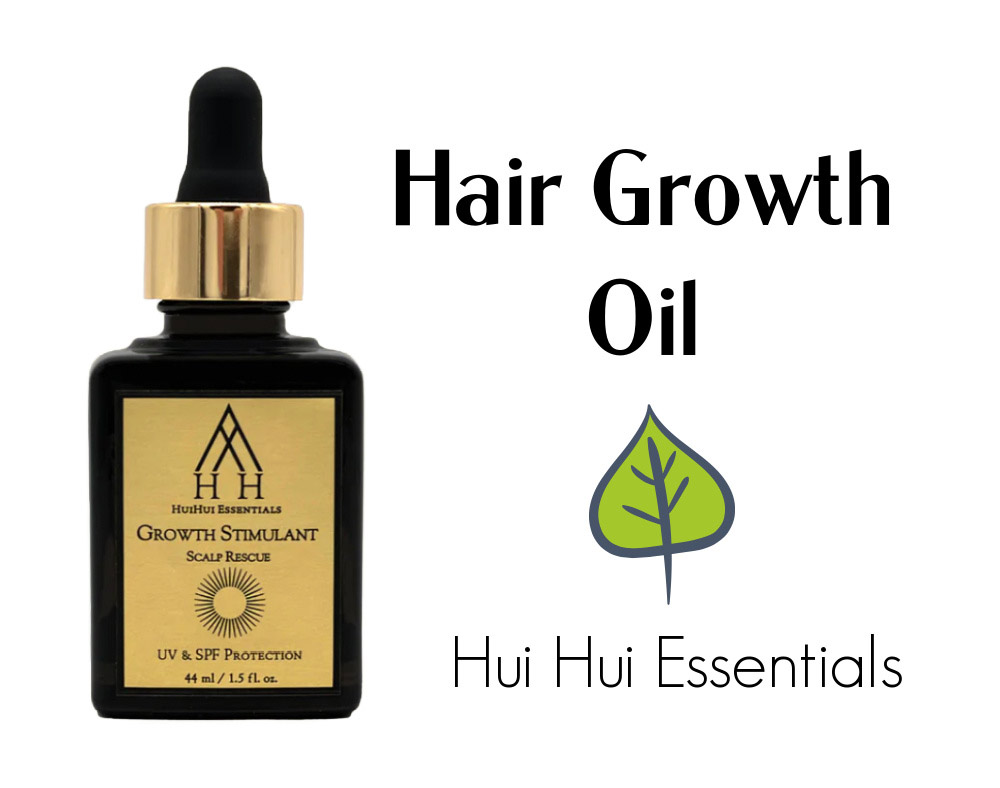
Once a month, I LOVE Hui Hui Essentials Growth Oil for a scalp treatment to encourage growth, and I use my FREE YOUR HAIR Brush every day. And I especially use it with after I apply my Hui Hui Oil ( on the full moon!) and YES, my hair grows way freaking faster than before. With these rituals, ( you know I love my beauty rituals!) and a seasonal trim, my hair is in excellent shape with very minimal to absolutely no styling. Just pleasurable, holistic haircare that feels great and works well.
Ready to DIY your cut?
Enter, the Ponytail Cut. The beauty of the ponytail cut is that it brings all the hair to one place for you to cut, keeping it neat and straight forward. And, depending on where the ponytail is on the head, you can created many different shapes and effects with the cut.
On that note, Lovely people, I present to you 5 DIY haircuts to try today.
A practical yet creative hair solution for the brave and bold. 5 strategically placed ponytails cut off to create 5 different awesome haircuts.
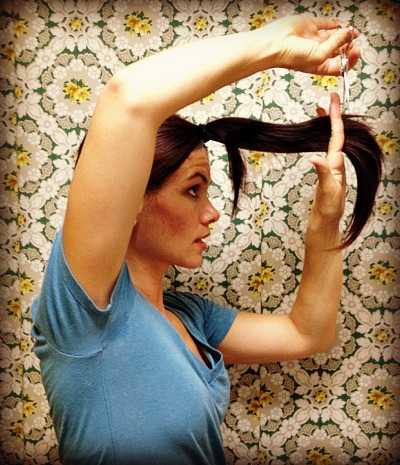
I started with my fantastically brave and excited model, Meleah. Her hair was unbelievably long, and she had been cutting it herself using HTHG’s perfect layers DIY haircut. Her hair is thick and straight, but these haircuts can be used on any hair type.
*The amount of hair cut off the ends of the ponytail determines the length that the cut will be. We removed about 3 inches with each ponytail cut. If you want the same effect but with shorter length, remove more from the ponytail.
Cutting off a ponytail is not as easy as just a snip! you will need a sharp pair of shears like these affordable, quality ones.![]() If you plan on becoming the full time master of your own
If you plan on becoming the full time master of your own
You will want to familiarize yourself with the point cutting technique to remove the hair a little bit at a time to soften and blend the ends of the hair.
Here is a map of the head to refer to, before you get started.

Are you ready? Let’s break it down!
DIY haircut #1. Long Layers!


For this one, you will put the hair in a ponytail, centered at the middle of the top of the head. Make sure it is smooth and tight.
Looking in a mirror, hold the ponytail straight up! Cut across the ends. Let hair down and check out your blended, even, pretty long layers.
DIY haircut #2. Long layers with a little boost in the back.

Perfect for those who have a flat back of the head and want a little boost. This haircut is great for adding a little extra shape and body to long hair.

Put the hair in a ponytail in the middle of the crown of the head, and cut across the ends to whatever length you want. Let the hair down and shake it out!

DIY haircut #3. Long layers with pretty face framing.


This one is great for girls who like having a little something around the face. It creates perfectly uniform layers throughout the hair, but softens the face with shorter blended face framing layers.
Brush the hair straight forwards and put it in a ponytail right at the front of the top of the head, almost at the hairline.
Cut the ends off the ponytail. Let it down and marvel at your swinging layered haircut that accentuates your best features!
DIY haircut #4. Perfectly impractical asymmetrical layers.


This is the haircut for the hipster fashionista who wants to keep her length but still make a bold statement. May I suggest this haircut with some color faded dip dye and a deep side part?
Make a ponytail at the front of the top of the head, off center. Like 3 inches above the ear (Parietal ridge) on the side that you part on. Cut the ends off. Let your hair down and check out your awesome layer-y asymmetrical part, with heavy face framing, and a shy side. It almost looks undercut but it’s not.
Killer hair cut. My personal favorite from this series.
DIY haircut #5. Mid-length layered bob.
The Shlob, if you will. But a longer version of it. This haircut involves 2 ponytail cuts.


 Make a ponytail right at the nape.
Cut it off to the length that the ends will barely rest on your neck.
Let it down, and cut the dropout off the bottom to straignten up the line.

Now put all the hair in a ponytail at the center of the crown. Cut the ends off. This will add layers and tons of texture an movement to the bob.


 This haircut happens to look amazing with bangs too. If you are feeling inspired, try Zooey bangs or asymmetrical choppys.
I double doggy dare you to try one of these. You really can’t mess em up if you follow the directions, and they look totally salon-quality.
Have fun with your hair!
xo, HTHG