 How are you all? I am doing well….Enjoying the beautiful Spring:) I have slowed down my posting since the New Year. I wanted to take some time to learn to use my camera better, and also to learn Adobe Lightroom. Photography is a passion of mine, and it seemed right to develop my love of it to benefit HTHG! This post uses photos from my first official Lightroom 4 edited shoot, where I discovered the AMAZINGNESS of Adobe photo editing. I used presets from the lovely A Beautiful Mess blog.
My sweet neighbor Birch has the prettiest longest golden hair. Lately, I have been inviting her over for hair play dates. I could brush and style her hair for hours and never get bored or run out of ideas.
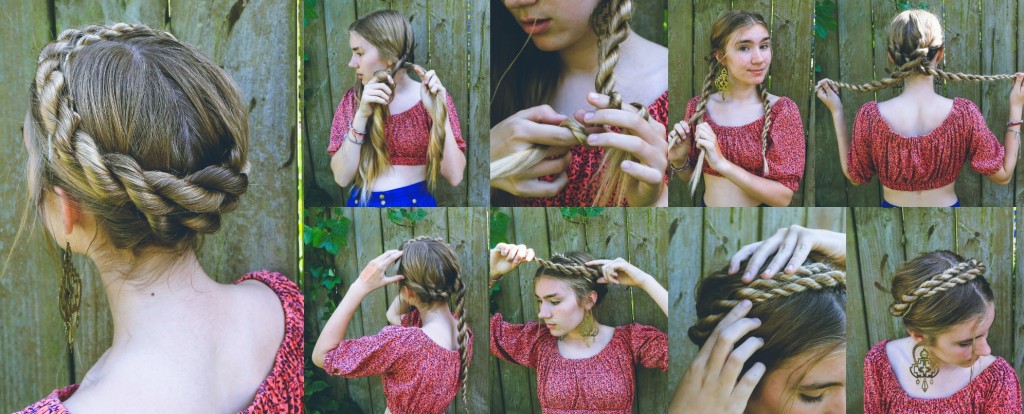
I shot a flower-hair tutorial ( Coming soon!) and posted an outtake of one of the hairstyles I used on my Instagram @howtohairgirl and it got lot’s of likes and comments so I decided to make a step-by-step tutorial of it to share with you. SO here you go, babes. The ever-lovely DIY rattlesnake braid crown!
Also, FYI, I’m pretty pumped about this summer at HTHG blog and shop. The ShamPHree shampoo-free haircare line is really taking off, and there are boutique collaborations in the works:)
This hairstyle works best on long hair. And it looks great if you leave a couple small pieces of hair loose around your face to soften it. ( Lady parts, if you will. )
To get the look, start by parting the hair down the middle, all the way to the nape of the neck. Pull both sides of the hair forward in front of the shoulders to prepare for your twists.
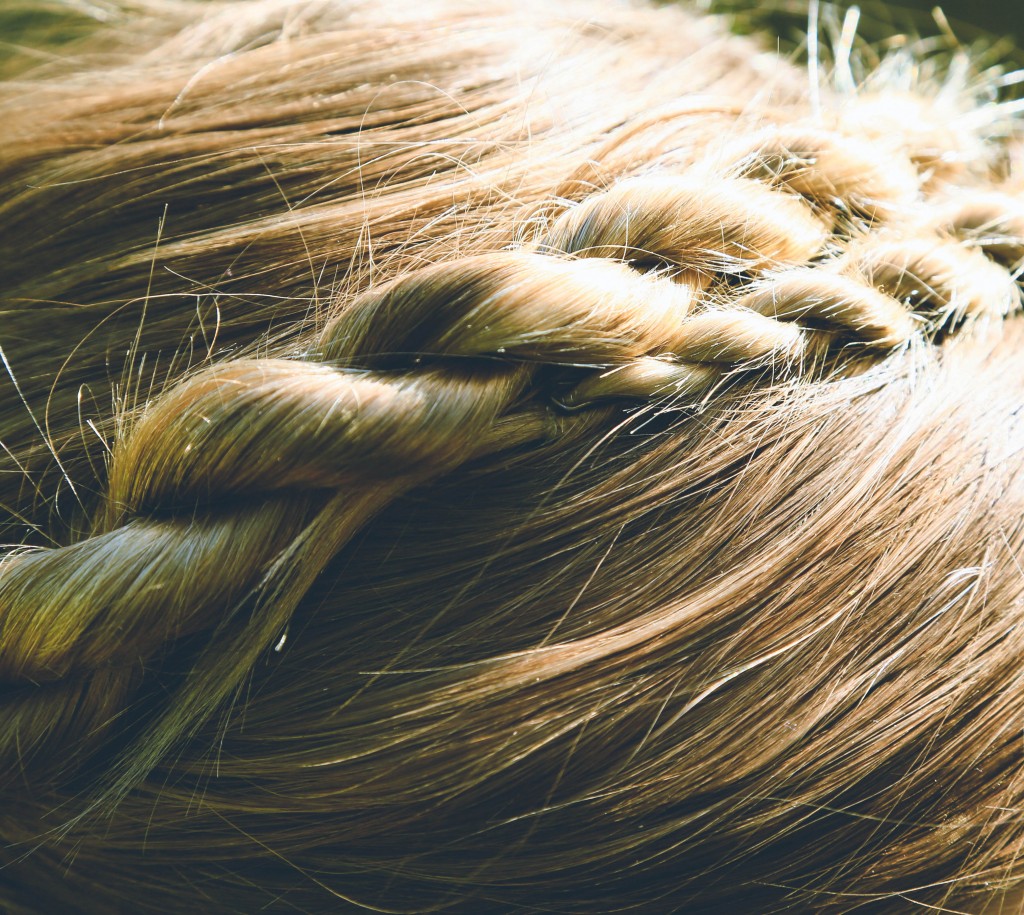
Now, begin on one side. Split the hair into 2 sections and hold them firmly at the top. Begin twisting them separately, in the same direction. Now as you twist them separately in the same direction, begin to wind them around each other in the opposite direction. Continue this twist/wind all the way to the ends of the hair. Secure the ends with a clear elastic.
It takes a bit of practice to get this movement down, but once you get it, it’s very easy! This post breaks down the rope braid a bit farther.
Repeat the rope on the other side and secure the end. Now, you will criss cross the the ropes across the back of the head, and over the opposite shoulder. Take one side and continue wrapping it around the head, sticking bobby pins in discreetly every couple inches. Pin the ends of the rope into the head securely.
Now do the same on the other side. Keep the ropes snug against each other, and add as many pins as you need to keep them in place. Tuck the ends of the second rope under the first rope and pin it into place to hide it.
