Hi my dear shorter-haired babes. Today I have a couple of super easy and adorable short hairstyle tutorials ‘from the cutting room floor’ to share with you. I was literally flipping through my photos from the last 3 years and stumbled upon these and thought ‘ Why the hell didn’t I share these with you all?’ I get so many requests for short hair styles! And these ones happen to be very easy to do, for even the most novice DIY hair style-er.
While we are on the subject of shorter hair, I have a few more shorter hairstyle tutorials coming up soon at HTHG that I shot very impromptu with my sister, while on a visit to the bay area to see her and her hubby and my little nephew Sebastian. So be on the lookout!
The tiny braid-y bunch.
 This hairstyle begins with a little back-combing at the crown of the head. Then, make a section with the whole top of the head, twist it once and pin it to the back of the head. This will add a bit of height and also help secure shorter layers that won’t reach the braids.
With the rest of the hair, make 2 braids. Secure the ends with tiny clear elastics.
Now take one braid, and pull it towards the other braid, flipping the end inward to hide it. Pin the braid discreetly, securing the end into the back of the head. Try and overlap your first pinned twist.
Repeat with the other braid. Add more pins as needed, but try to keep them hidden. The end result should look like an intricate little bunch of braid-y bits!
Slick and Twisted

This slick little twisted hairstyle starts in the same way, with a little back combing at the crown, then making a section on the top of the head, twisting it and pinning it to secure all the hair to the back of the head.
Now take the rest of the hair from one side, and twist it and pull it across the back pinned twist in the back, pinning it to the head on the opposite side. Repeat with a twist on the other side.
Repeat these twist and pins with the hair from both sides of the nape of the neck. Try and overlap your twists a bit to hide their ends if you can.
Now, with the rest of the hair that hangs down, twist it into a small bun and pin it to the head below your twists. The end result should be a mess of twists going down the back of the head and hopefully now ends or pins showing! If you are having trouble with pinning, do check out this video:)
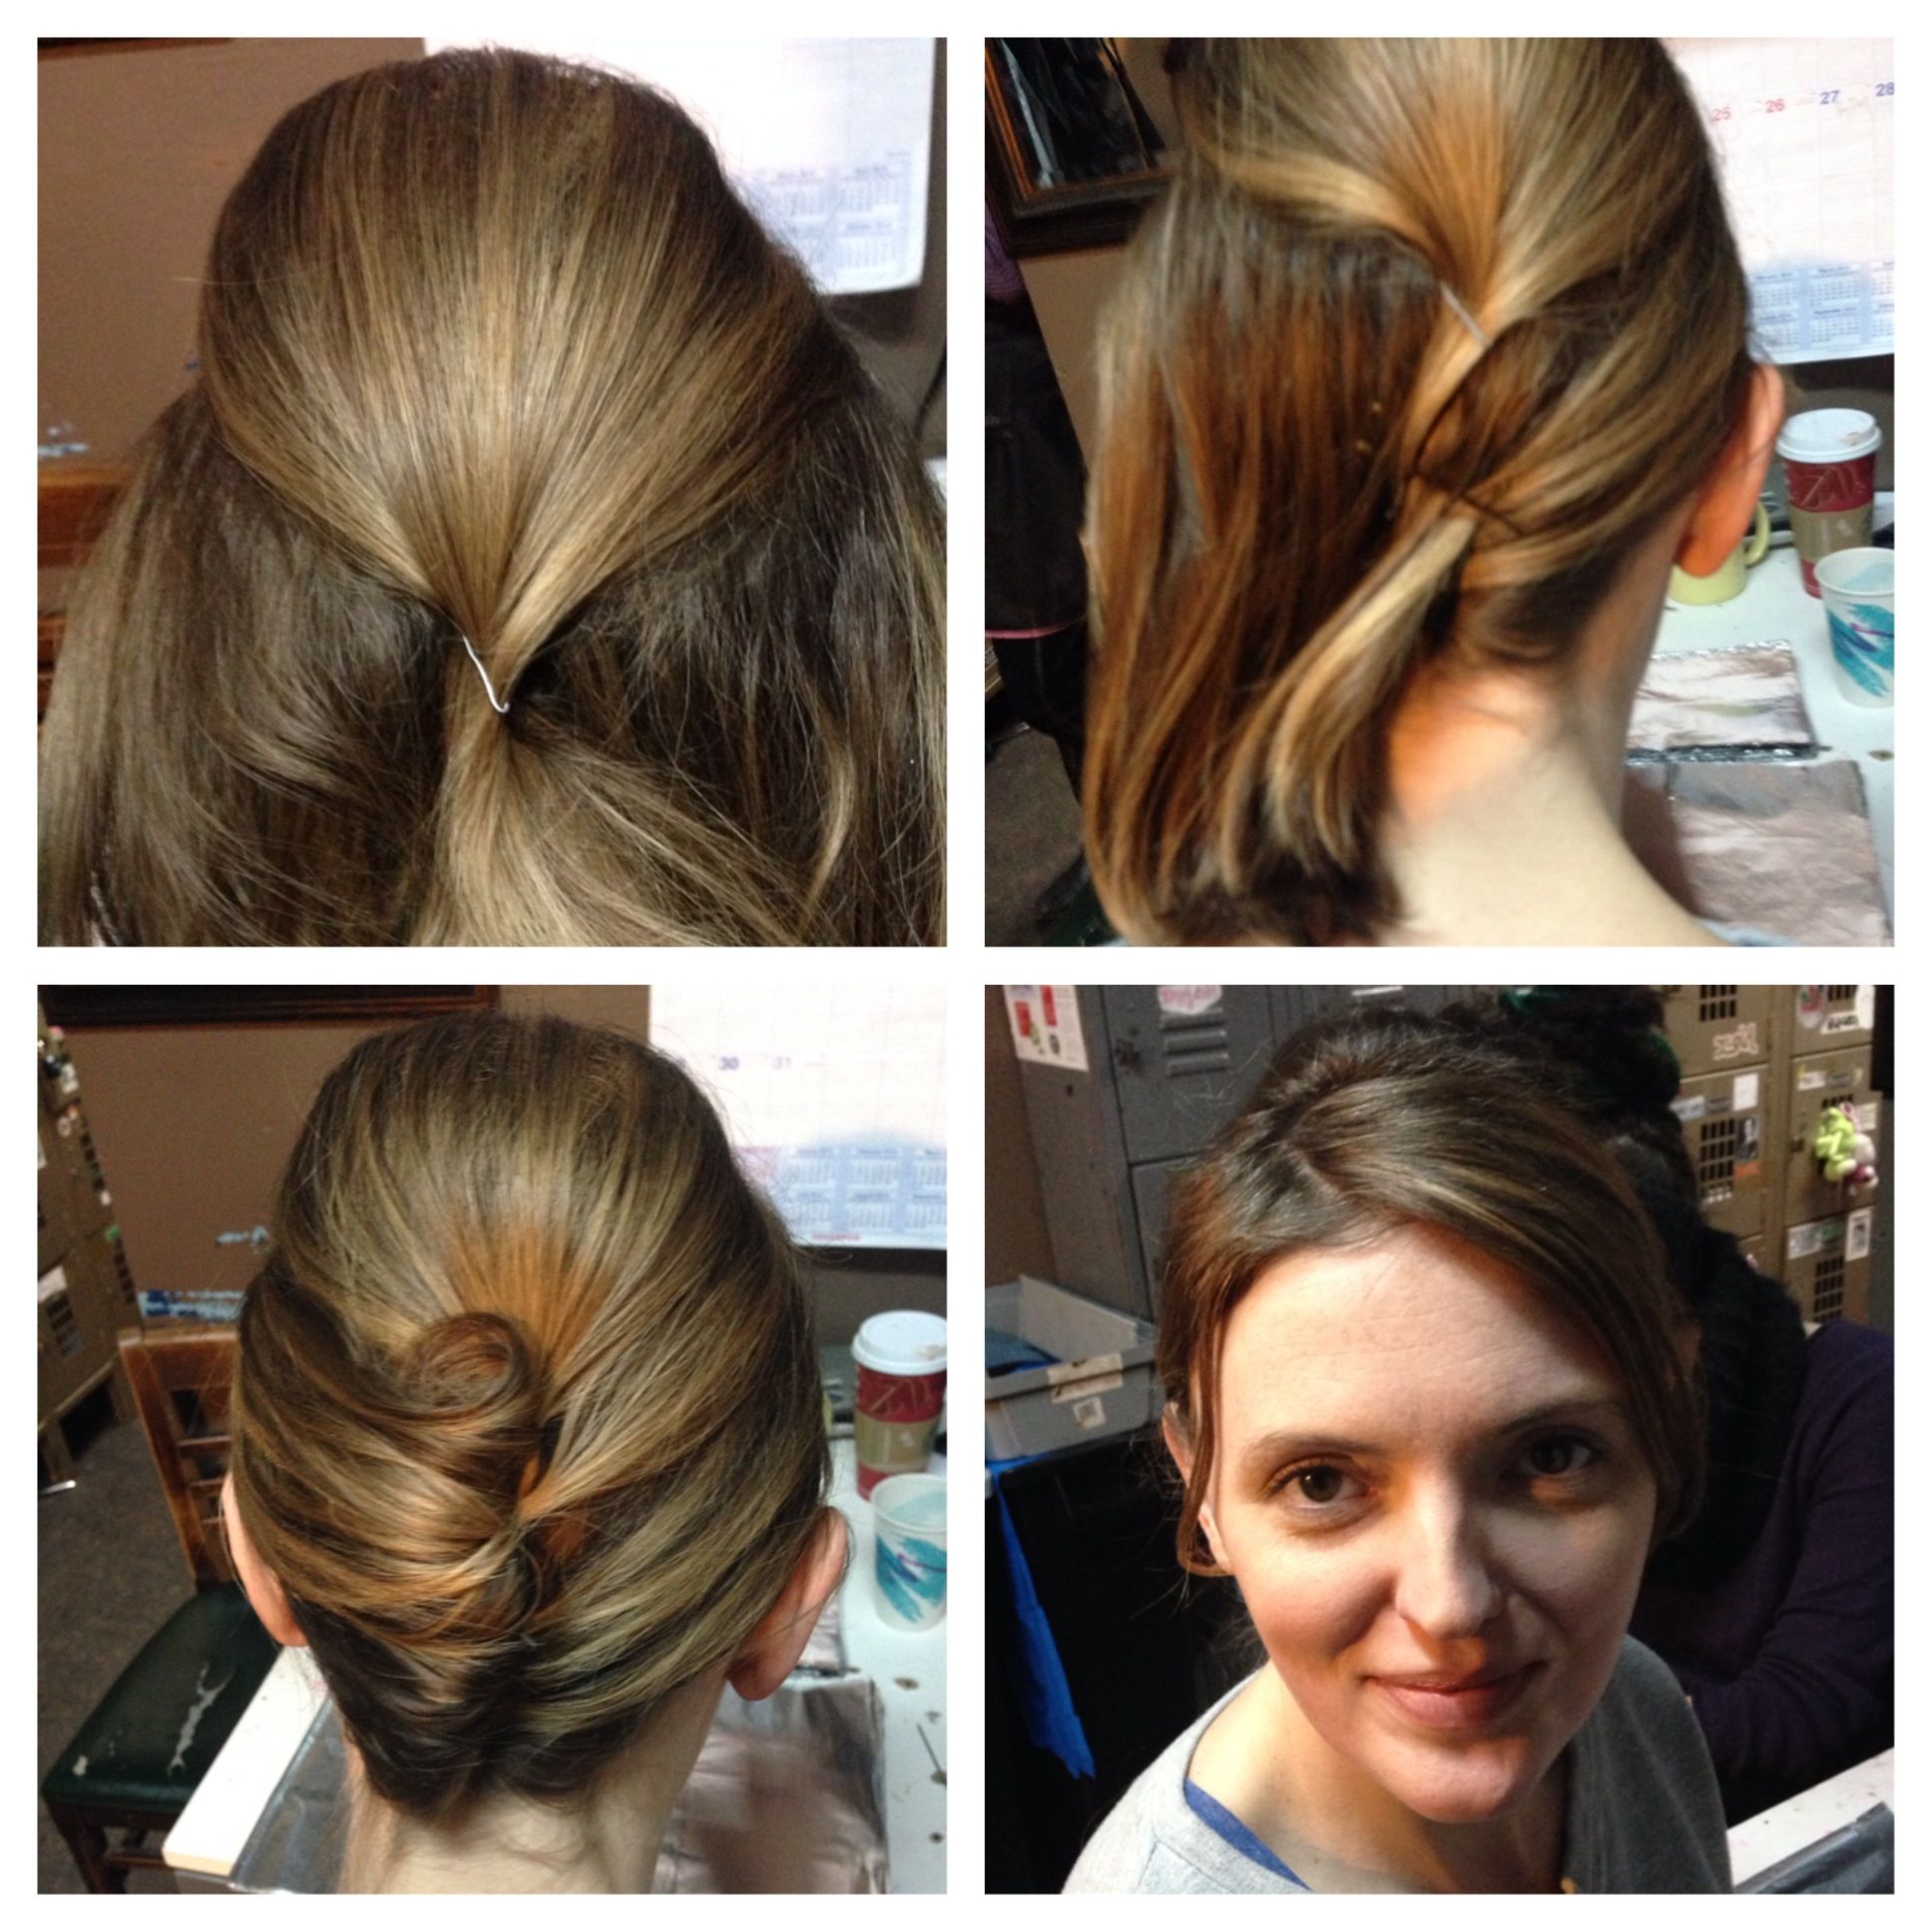
The Short French Twist
 This is basically the quick version of a classic french twist done on shorter hair. The full tutorial is here for longer hair.
Begin this hairstyle by back combing and sectioning off the top of the head. Twist the section and pin it securely to the back of the head.
Now sweep all the hair to one side, and criss-cross pin it vertically down the center.
Take all the hair in one hand, and tuck in the ends, rolling it towards the center, over your criss cross pins. Use as many hair pins as you need to to secure the roll to the criss-cross pins. Depending on the length of the hair, you may need some hair spray to get this baby to stick;)
enjoy!
XOXO, HTHG