 Yes my dears, braids are still around and hopefully not going anywhere for a long time.
Spring is in the air, and in my hair. I’ve got my post winter-slump DIY ombre hair going on, and I’m ready to get back to pretty braids and flowers in my hair. I can’t wait to wear sandals ( I secretly hate wearing socks) and bright colors.
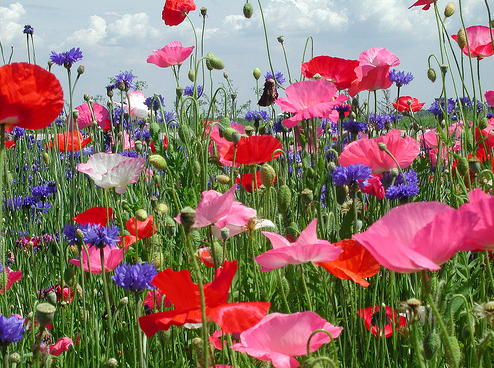 (Photo from the Gypsy Travel Journal)
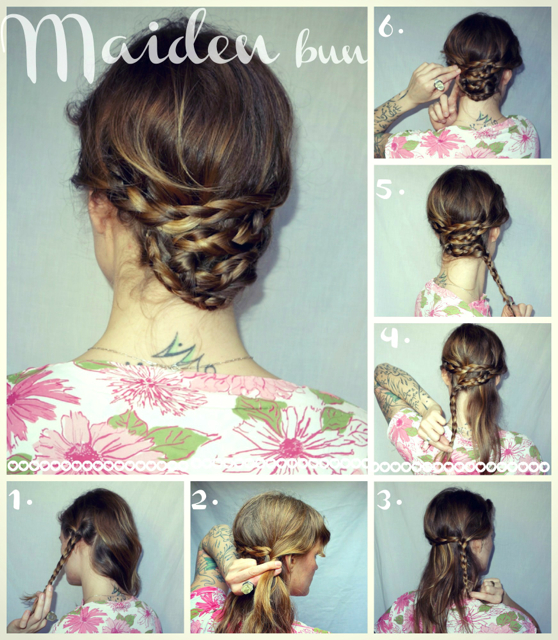
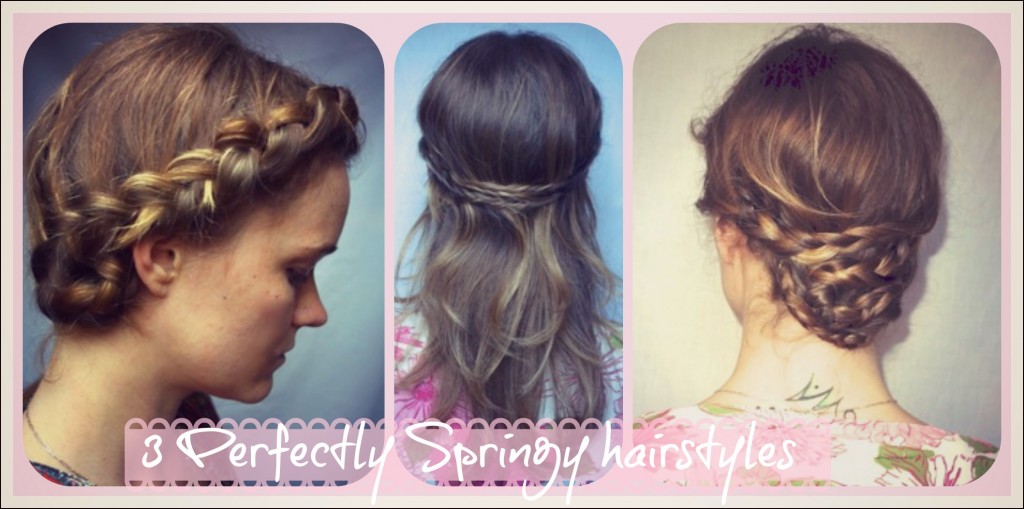
To channel the coming Spring, I have put together a couple of braid-y hair tutorials to share with you. The first one is called The Maiden Bun 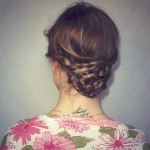 and it is a very pretty low braided style.
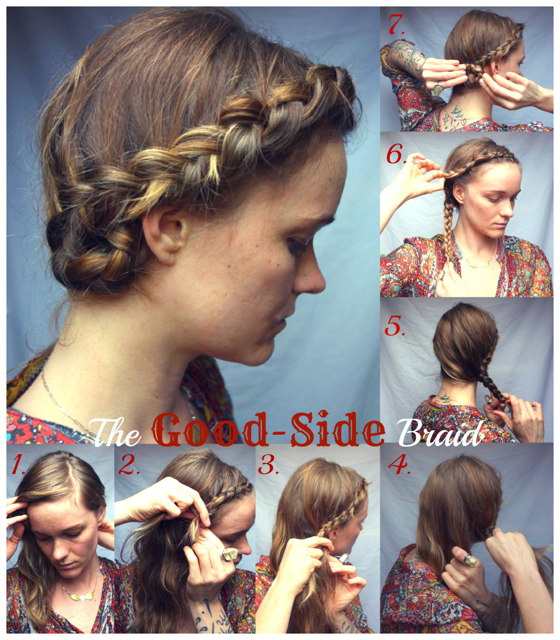
The second one is The Good Side Braid, 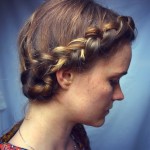 a voluminous one-sided braid for my lovers of asymmetrical hairstyles.
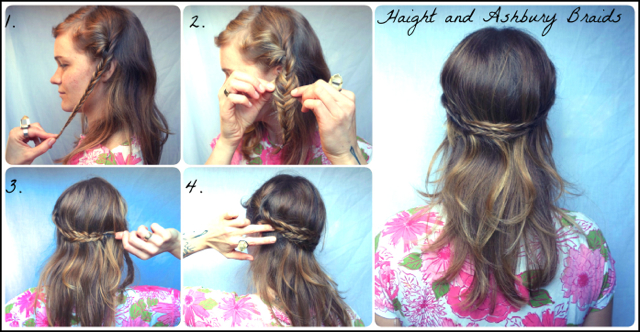
The third is the Haight and Ashbury braids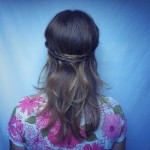 which is a simple half-up hairstyle inspired by Haight and Ashbury circa 1970.
Here is how to do them.
The Maiden Bun
1. Section off a side of the hair, from the back of the ear forward. Braid all the hair in the side section.
2. Pull that braid across the back of the head to the other side. Start another braid on that side, braiding in the ends of your first braid.
3. Braid all the way to the ends.
4. Now take that braid and pull it across to the other side. Take 1/2 the free hair and start another braid, braiding in the ends of your last braid.
5. Now pull that braid across and braid the ends in with the rest of the hair from that last section.
6. Now pull that braid across and pin it in, under the last braid to hide the ends. Re-enforce the braids with bobby pins if needed.
For this next hairstyle, the trick to making the braid is that instead of adding hair to each side every time you overlap, you will ad hair every other overlap, only on the up-stroke. This makes the top edge of the braid stand out from the head.
The Good Side Braid.
1. Begin by making a side part.
2. Start a dutch braid on the heavy side of the part.
3. Continue the braid down the side of the head, along the hairline.
4. When you get past the ear, take hair from the back and pull it across to add into your braid.
5. Braid all the way to the ends, and secure with a small elastic.
6. Now pull at your braid a bit to plump it up.
7. Wind the ends into a bun and pin it to secure.
Haight and Ashbury braids
This hairstyle is simple and beautiful. Here is how to do it…
1. Take a section of hair from one side and fishtail braid it. Do the same on the other side.
2. Pull apart your braids to plump them up.
3. Take one braid and pull it across the back of the head and pin it discreetly on the other side.
4. Do the same with the other side, pinning the ends of the braid under the base of the first braid to hide the tail.
Now go find the perfect flower to pin into your perfectly Spring-y hair.
XOXO, HTHG
