*This post has inspired SO MANY GREAT QUESTIONS from HTHG readers regarding their hair color. Many of the questions are quite complicated and require a bit of time and complex color theory knowledge. I do my best here to share wisdom that is helpful and supports your DIY Color life.
This post has been a long time coming…..I have been thinking about it and planning it and trying to decide just how detailed to get. I decided to keep it on the simple side, and save you all that Eyes Glazing Over thing that happens when you are in over your head with information.
To begin with, never underestimate the power of great haircare to support your DIY Color. Here is what works best for me: I like simple and no fuss, and no stripping, to keep that color bright.- My favorite 4 tools/products are Hairstory Studio New Wash and Balm for that not-too clean natural finish- I use New Wash about once every week to 2 weeks instead of Shampoo- It is creamy, non lather, smells great, and leaves nothing heavy behind. I love the Hairstory Balm for finishing my curls once they are dry- it adds a little soft texture and tames the wildness just enough.
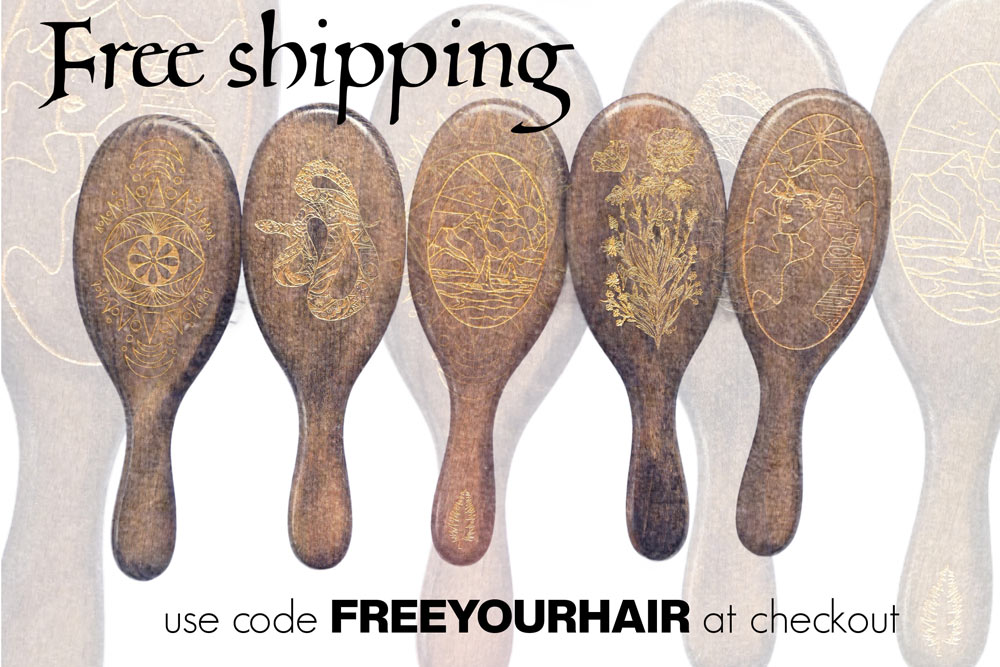
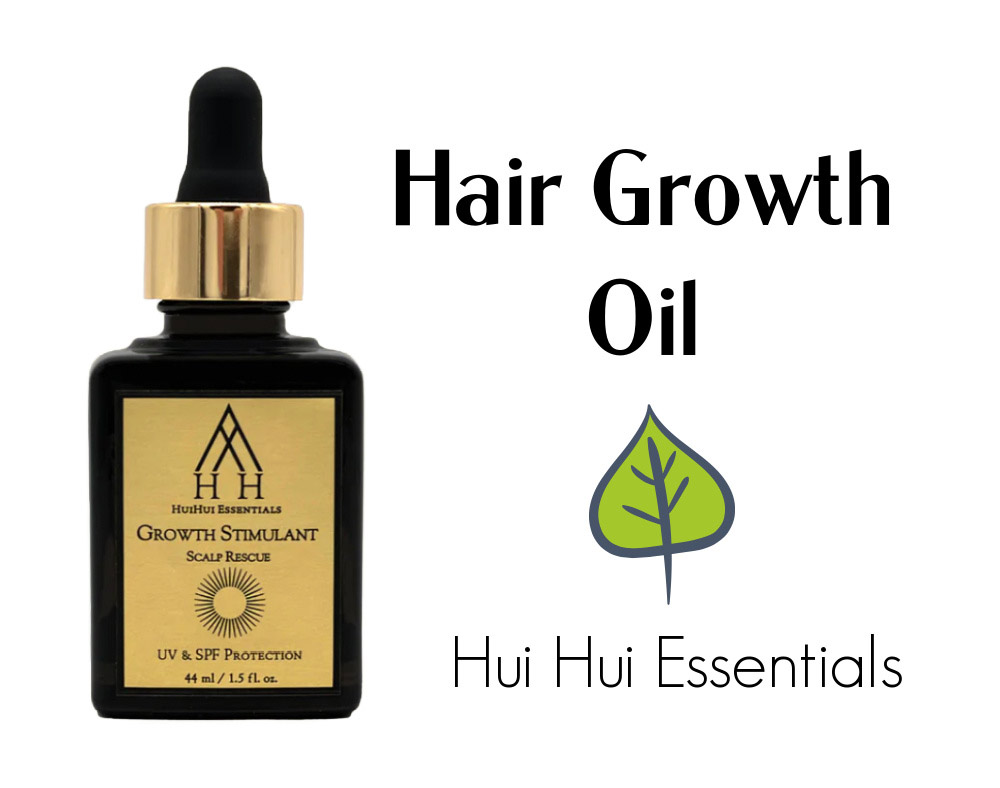
Once a month, I LOVE Hui Hui Essentials Growth Oil for a scalp treatment to encourage growth, and I use my FREE YOUR HAIR Brush every day. And I especially use it with after I apply my Hui Hui Oil ( on the full moon!) and YES, my hair grows way freaking faster than before. With these rituals, ( you know I love my beauty rituals!) and a seasonal trim, my hair is in excellent shape with very minimal to absolutely no styling. Just pleasurable, holistic haircare that feels great and works well.
I want to overstate the importance of having a great hair brush ( hello FREE YOUR HAIR Brush! ) to use in between washes if you are a DIY Colorer- it restores and moves oil from your scalp to ends so your hair is more protected, and the color stays bright longer and you need to wash way less.
There are some basic rules to hair coloring that you don’t have to be a professional to understand. They are rules that when applied, just might make your DIY color experience easier, save your hair color from brassiness, save yourself from unplanned color surprises, save your hair from falling out, save your wallet from emptiness.

 First off, here is the color wheel, and here is a color level chart. These things are necessary to have on hand when deciding how to get your hair color from point A to point B. When I refer to the level of the hair, I am talking about the amount of darkness. When I refer to the tone, I am refering to the color.
Also, here is another good breakdown of hair color chemistry for beginners, in case you are interested.
Let’s start by talking a bit about developers.
Developers. What are they? Developer is the peroxide or oxidizing component to the chemistry of color. Permanent color comes with developer, no matter where you get it and who makes it. To put it simply, it is the chemical that strips out your natural color, making it possible for the artificial color to work it’s way into the cortex of the hair, where the color molecules live. To understand hair color, you need to understand your developer.
When you go to Sally’s, you often can buy your desired hair color and then choose which developer you want…..10 volume, 20 volume, 30 volume, and 40 volume. 10 is the slowest acting developer, 40 is the fastest. Think of the volume of your developer as the amount of lift or lightening you want to achieve. Using too high of a volume developer can result in unnecessary lightening and major damage to the hair. Too low a volume, and you may not get as light as you want.
When going darker or changing the tone of your hair, say going red and one shade darker, Generally, 20 volume is a good bet. When working with very fine and fragile hair, I always use a 10 volume. When highlighting very dark coarse hair, usually 30 or 40 volume is necessary. When toning light hair, I like to use 1o volume.
So, to put it simply, 20 volume is the safest bet but always consider the condition and texture of the hair and desired result when choosing your developer.
And for the record, for better DIY color options, get your color at Sally’s where you have more choices. Box color from the drug store is just a bad idea, all around.

 Darkening light hair. Your inclination would be to get a box of the color you want and slap it on thinking that it must be pretty harmless. What would happen if you put a level 3 dark brown over a level 12 light blonde (see color level chart.) Your hair color would be a flat, gross gray-green-brown.
Now, we must talk about filling the hair. To go from pre-lightened to dark hair, it takes 2 steps. First step, Fill. Filling the hair means replacing lost pigment to the hair before applying your desired color. I’m not going to go too far in depth with this one but I will give you a healthy bite of knowledge.
 If your hair is pre-lightened and you want to go darker, you need to replace some of the lost color first. You need to get your color here before you move on to step 2.
You almost can’t lose by filling with a level 7 warm gold and 10 volume developer. So apply your filler color first, let it process, then dry the hair, and then step 2. apply your desired color. This is the key to going from light blonde to rich and beautiful dark hair.
just an FYI, I always refer my clients who DIY their color to the Madison Reed Radiant Color Kit for going darker shades, as well as vibrant reds and coppers. They make incredible toning glosses as well, but we will get to that later.
Permanent vs Demi-permanent color. Here is what I tell my clients when trying to decide between these 2 options. Are you ready to commit to being dark haired, or red haired, or black haired, or gold haired for at least 6 months? Are you prepared to keep up with the root line that permanent color inevitably leaves you with? Are you going for a bold, rich, high impact color to call your own for a long while? Are you willing to invest in the proper hair care products to keep your color looking nice? Let’s go with permanent. Are you general more finicky about your hair? Do you like to change up the color with the seasons? Do you want the option of going from light to dark and back? Do you like a more natural, translucent look without the upkeep? Do you want more of a tonal change, rather than changing the level of your hair color? Do you want a nice, shiny refresh of the color you already have? let’s go with Demi-permanent.

 Lightening dark hair. Do you have virgin hair, never been colored before? If so, then you can choose your lighter shade, keeping in mind that as you lighten, your hair gets more gold. If you don’t want to see much gold or red, make SURE you choose a shade that is ash or violet based. Look on the color wheel. Violet is across from yellow orange. That means they are opposite colors. The violet in the color will help nuetralize the gold tones. Keep this in mind.
If you have existing color on your hair at all, know that a box color will not remove that color. You cannot lighten pre-dyed hair with box dye. That’s where bleaching comes in. Bleaching your own hair is not easy, and not for the faint of heart. I will not go too deep into bleaching and corrective color but I think it is important to consider these points………..
Bleaching hair When bleaching your hair, know that whatever developer you choose will drastically effect the outcome. All developers when mixed with bleach have the capacity to lighten hair to the same color, it’s just a matter of speed. Bleach and 40 volume works fast and strong. 10 V can get you to the same place, but much slower and much gentler.
 The first inch of hair at your roots will always lighten much faster than the rest because of the heat from the head. You can use a 10v developer on the root section and 30 on the ends, or leave the bleach off the roots at first. There are many ways to get around this fact, but you have to get creative and be careful.
If you just need to lighten 1 level or possibly 2, a French Shampoo can be a great trick. To do this, mix bleach and 40 v developer. Add equal parts shampoo to your mixture. Apply and suds evenly into wet hair and let it sit for 15 minutes or so. Shampoo out. This can be great for stripping out color, if all you want is a bit of lightening or to prep for a toner.

 Toning. Why do we use toners? When you don’t want to change the level of your hair color, just the tone. For example, after you bleach to a pale yellow, but you want to be an icy blonde.
When choosing a toner, look at your hair. What color do you see that you want to go away? is it slightly brassy or too yellow? Check out your color wheel. To tone these unwanted colors away, choose colors that contain the opposite color tones in them. Blue and violet ash based toners are great for unwanted golds. Blue and green based toners are what you want to cancel out red in the hair. You following me?
The color glosses from the Madison Reed Radiant Color Kit make incredible tones that are gentle and come in soft and beautiful shades.

 Veggie dyes. When you see vivid pinks, blues, greens, purples, oranges, and yellows in peoples hair , you can bet that it is the result of a bleach and veggie dye. Veggie dye is a single process, deposit only color. This means simply that it doesn’t use any caustic chemicals to lift out color molecules and deposit new ones. It only adds color. This is why it should be used over pre-lightened hair for best results.
Although you can put it over any virgin hair color, if you want a true vivid color, the hair should first be bleached first. On virgin hair, veggie dyes will be very semi-permanent. On bleached hair, veggie dyes will stick around, fading slowly over time.
Popular veggie dyes are Pravana, Special Effects, and Manic Panic. I am a sucker for Special Effects. Their colors are gorgeous and they seem to stick around longer.
For the record, red color molecules are the smallest and they penetrate the deepest into the hair. This makes reds harder to remove. Reds, pinks, oranges, and some purples will fade slower than cooler colors. Blue color molecules are the largest, and they don’t penetrate nearly as deeply as reds. Blues and lavenders and cool greens should be applied to very light hair for best results. But don’t count on them staying vibrant for long. Mix some color in with your conditioner and use it weekly to help keep those colors fresh;)
Also, the longer you leave the color on your hair, the longer it will last after you wash it out. And heat will help the color penetrate. So cover your head with a processing cap and sit under some heat while that color is on your head.
 Do you like the look of those very muted vivid colors like dusty rose, mauve, and silver purple? My trick for that is to bleach the hair, and tone it to a very beige-y silver before applying the veggie dye. Then, mix your veggie dye up with some cheap conditioner to lighten it up a bit before applying.
 Touching up your roots……Here is what you need to know. There is this thing called hot roots. It is a result of what happens when your color processes faster and more thoroughly because of the heat at your scalp. It results in scarily bright roots. Unless you want your color to look like this (fake!) you must account for hot roots any time you touch up your color. To do this, go one shade darker than your desired color when touching up your roots. Or use a lower developer, like 10v. This will eliminate unwanted brightness in the root section. Touching up your own roots? Check out this post. Touching up your bleached hair? check this post out.
Covering grays.

 Gray hairs are more resistant to color and generally take a bit longer to process. You will want to use a higher developer if you have a lot of grey, 20v or higher.
When coloring gray, you must also account for the missing pigment. IF you have a lot of gray, and you want to be a cool blonde, you will need to use a neutral or gold shade to make up for the color that is missing. If your grays are super coarse or resistant, I suggest you use a 30 volume developer to really help your hair grab that color.
Hair condition and keeping your color fresh. To keep your color fresh, let’s talk about the condition of your hair. The healthier your hair is, the better it will take and hold color. If your hair has been processed and doesn’t want to hold color, give yourself a couple of protein treatments, then do your color, then focus on moisturizing to help seal the color in.
 If you are trying to maintain a pastel shade over bleach, good luck. These colors were not made to last. My tip for this is to add some of your pastel color to your conditioner and shake it up. Deposit a bit of color every time you condition to keep the shade fresh.
My best advice for keeping color fresh is to use a great quality at-home color like the Madison Reed Radiant Color Kit and find alternatives to shampoo-ing. Rinse hair with water, and then condition the ends as often as you can. If you are ShamPHree, use a diluted BS mixture and a more concentrated ACV. Here is more on the subject. Keep your hair in the best condition that you can. Get regular trims. Use Hair Powder and non-lather shampoo. Brush your hair. Love your hair.
Also, I want to add that deep conditioning is ESSENTIAL to mindful DIY hair coloring. Veggie-tech by Davines is my personal favorite deep conditioner. I have witnessed the salvation of many a frazzled strand by using this product, and I consider it worth every penny.
Want DIY hair color inspiration? browse HTHG’s DIY color category and learn how to master your own color!
Interested in a DIY foil, Balayage, Dip-Dye, or Ombre? Check out the HTHG DIY color video library. Save yourself the salon prices and master these techniques yourself.