After years of struggling with my multiple-personality hair, I feel like I finally have enough tools in my DIY natural hair tool kit to make it work. I have my ShamPHree routine down, to start with. I regularly trim my ends to keep it healthy. I’ve got my uber-necessary golden child of hair brushes to tame it when I do my no-heat t-shirt smooth-out. And, I have my stash of valuable tricks for the curly hair days…..The humid days, when my hair is telling me that it wants to move freely around my head without too much intervention. These are the days when I pull out my favorite curl tricks.

1. The Pre-free Conditioner. I start my Naturally Curly routine with a pre-poo conditioning treatment. Let’s call it a pre-free though. It sounds better. I like to use my Honey coconut masque. The night before my ShamPHree day, I apply the masque to my dry ends. Ends only! I literally warm the masque in my hands and work it into the last inch of my hair, with my head flipped upside down. Then I put my hair in a loose braid and sleep on it. ShamPHree out in the morning using water that is very warm.
 2. The Faux-Deva set. I love the look of a Deva-curl set.The Deva Curl educators have a formula for how to set curls beautifully using their products. It works wonders for wavy to kinky hair, encouraging pretty, defined, well formed, long lasting curls. Today, I show you the basic curl setting technique, minus the Deva Products. And for the record, I love their products. I use them on my curly clients. I just don’t use them on my own hair because I’m a product minimalist. So here it is! I will walk you through it, step by step. You will need a micro-fiber or t-shirt towel.
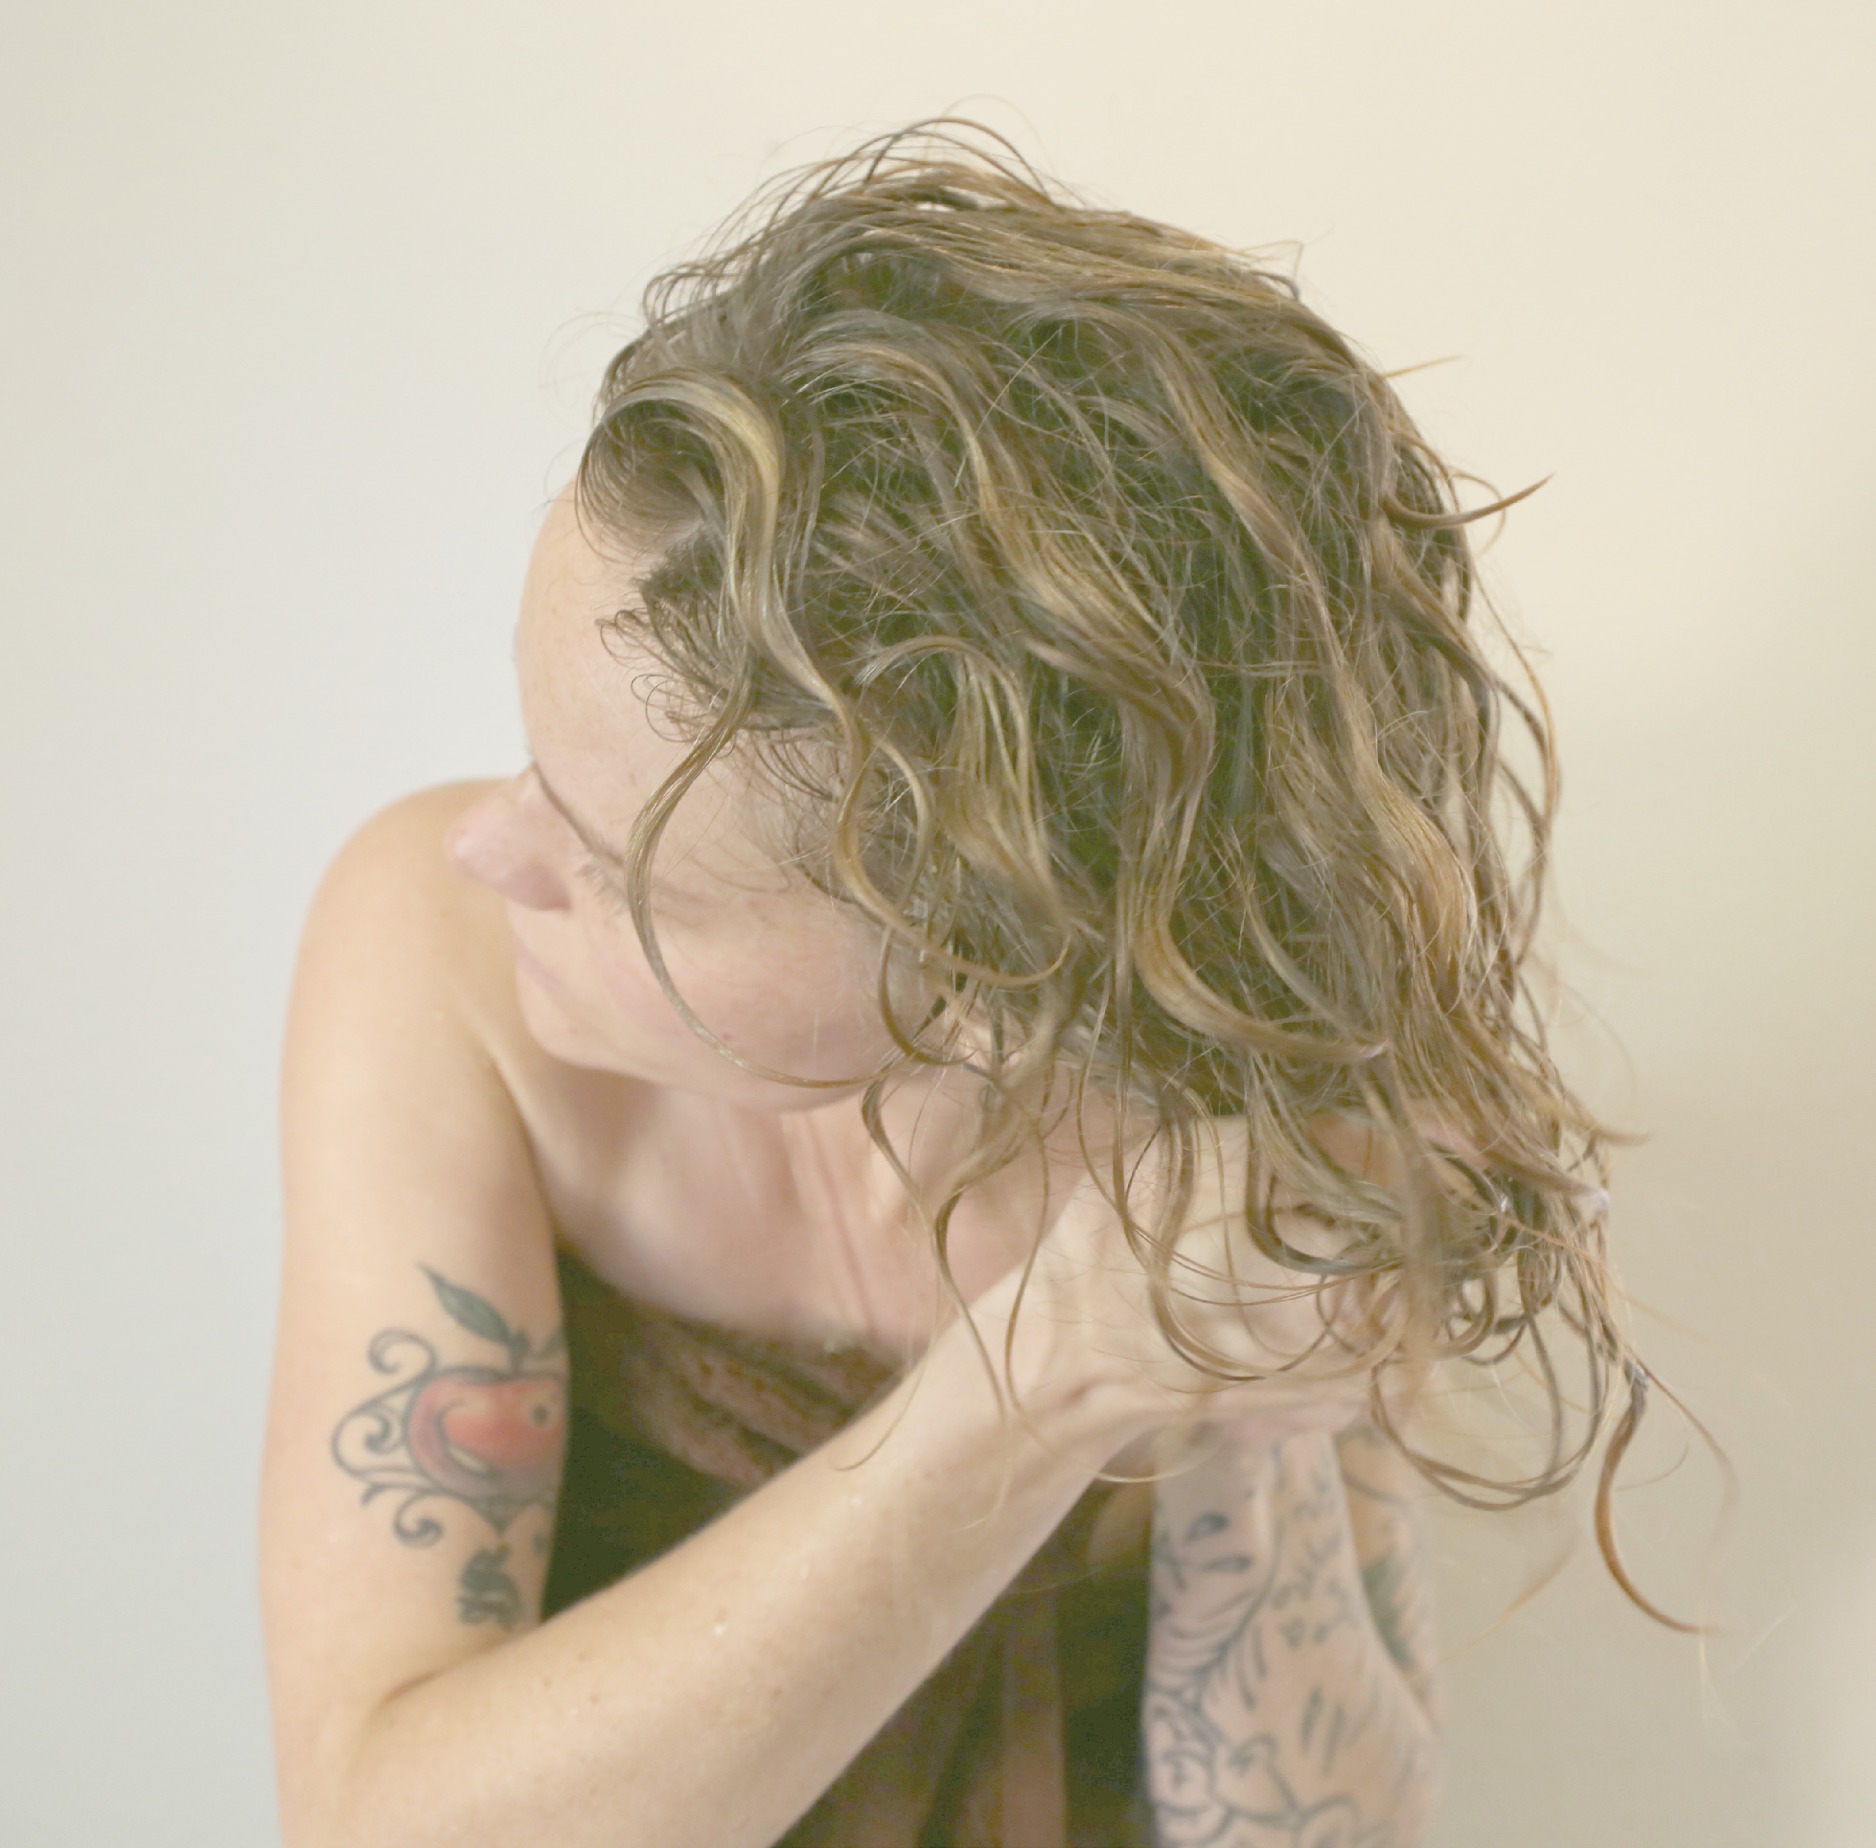
At the end of your shower, flip your hair upside down and rinse it with light water pressure. Turn off water. Gently wring the hair out of the ends. Carefully insert your fingers into your hair at the scalp, loosening the hair up without bringing your fingers through the ends. Give your head a gentle upside down shake to set your hair free. If you use a certain product in your hair, now is the time to VERY GENTLY spray or scrunch it into hair.
Once you have applied your product ( Have you tried this fabulous natural flax and aloe curl setting gel?!) Take your micro-fiber towel or your t-shirt towel and bring it up towards your scalp, gathering all the ends of the hair into a deep scrunching. Don’t squeeze the hair in the scrunch until your hands are all the way to the scalp. Do this a couple of times.
Now turn your head to one side and repeat the deep scrunch with the hair on the side. Repeat on the other side.
Now softly flip your head backwards and scrunch the back up into the scalp a couple times with your towel. You are set with curls evenly scrunched and activated! Let your hair air dry and don’t touch it until it is fully dry! Once it is dry, scrunch it a bit more and shake it out. Let it be wild. Yay for natural curls!
3. Liquid Gold Curl Butter. When your curls are unruly, dry, or fuzzy, whip up some of this magic and scrunch it in and smooth it through your dry hair.
4. Curl ribboning. Once you have applied a bit of Liquid Gold Curl Butter, use this technique to smooth and define curls. These 2 things together are 2nd and 3rd day curly hair magic:)
5. Protective hairstyles while you sleep. Stretch your curl set out for days with protective night time hairstyles. The Pineapple is the best one for naturally curly air. Get a scrunchy and you are good to go!
There you have it, my curly and wavy sisters and brothers. I Hope you learned a thing or two about natural curl care today on HTHG…..I am constantly still learning new curl tricks. I promise to keep sharing:)
What are your favorite curl tricks? We would all love to know!
Do you need some DIY curly hairstyle inspiration? check out my Curly hair tutorial category! For more on curl care in general, browse through this section.
xox, HTHG