The quest for the perfect braid is about embracing imperfection. This is rule number one.

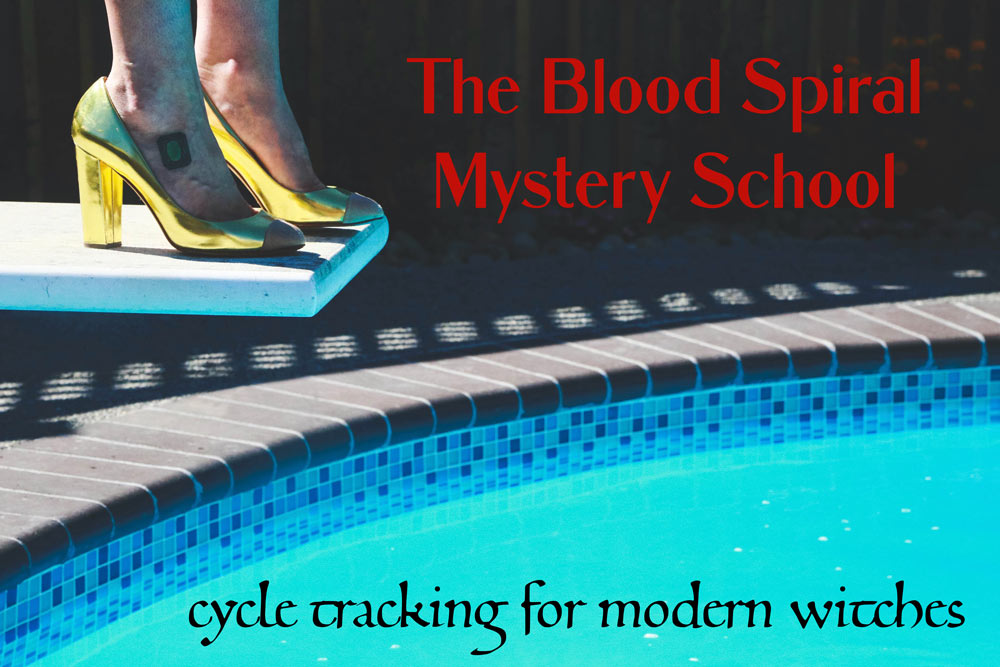
( Photo Be The Fair for Free Your Hair, Mercado Sagrado 2016)
I can too easily recall the feeling of sitting behind the girl with the perfect french braid in 3rd grade. Her braid was smooth and shiny, symmetrical and without a bit of fuzz. Mine, which was done really hurriedly by my mom who I had BEGGED and begged that morning to braid me, my poor mother who had 3 children to get out the door and to the school bus on time.
She had a total of 6 meals to prepare that morning ( breakfast and lunch for the 3 of us ) and braiding was not at the top of her list of important things to do. Needless to say, my braid was rushed and lumpy, frizzy and limp. And I felt nothing but pure burning braid envy as I gazed at the braid in front of me.
Perfect braid, probably a mom who just loved to braid her hair and never felt rushed ever, and also, she got to take horse back riding lessons and she made sure everyone around her knew it. Thats my braid sob story and also my point of reference for where my braid journey began. This was the origin of my quest to make a perfect braid.
I don’t want to go to deep into the soul of this story because I could ramble on for fucking lightyears. Instead, I will share with you my favorite tricks for creating great braids.
Circling back, embracing imperfection. I think many of us have this perfect braid in our heads that we can never quite replicate (thanks, Pinterest, for making us eternally feel unskilled)
Step 1. Get your Mind Right
 Shake off the expectation of braid perfection because it’s a setup for failure and also, thankfully, today’s braid is everything but perfect. The key to a life of great braiding is changing your attitude, believing in the process and letting yourself experiment.
Try and enjoy the journey of the braid, because it shows. If you can appreciate the process, your braid will shine brighter. It’s kind of like a beautiful garment, if it is made with love, you feel it every time you wear it, and it shows.
Pro-tip: If you are starting with your braid technique at ground zero, teach your hands before you teach your eyes. Close your eyes, and get the rhythm down. Take it slow, and send love to your hands, thank them for learning a new thing. Don’t rush it.
Also, put on Beyonce’s Lemonade and invoke the skills of the braid empresses who came before you as you braid.
Step 2. Braid Basics
Take some time to just play around with your hair, starting with a simple 3 strand braid. If you can get all your hair into one braid, start there. If your hair is short, there is a magic thing called an accent braid, that just means a little braid strategically placed somewhere that’s only purpose is to exist. Not a lot of function, just a little adornment…..A little something to make it interesting. An accent braid is to hair what earrings are to ears.
Just do some simple braiding in your hair, to work up the muscle memory in your hands and coordinate your fingers. Get the feel of it, get comfortable. Nothing fancy yet. Practice.
Step 3. The Power to Deconstruct
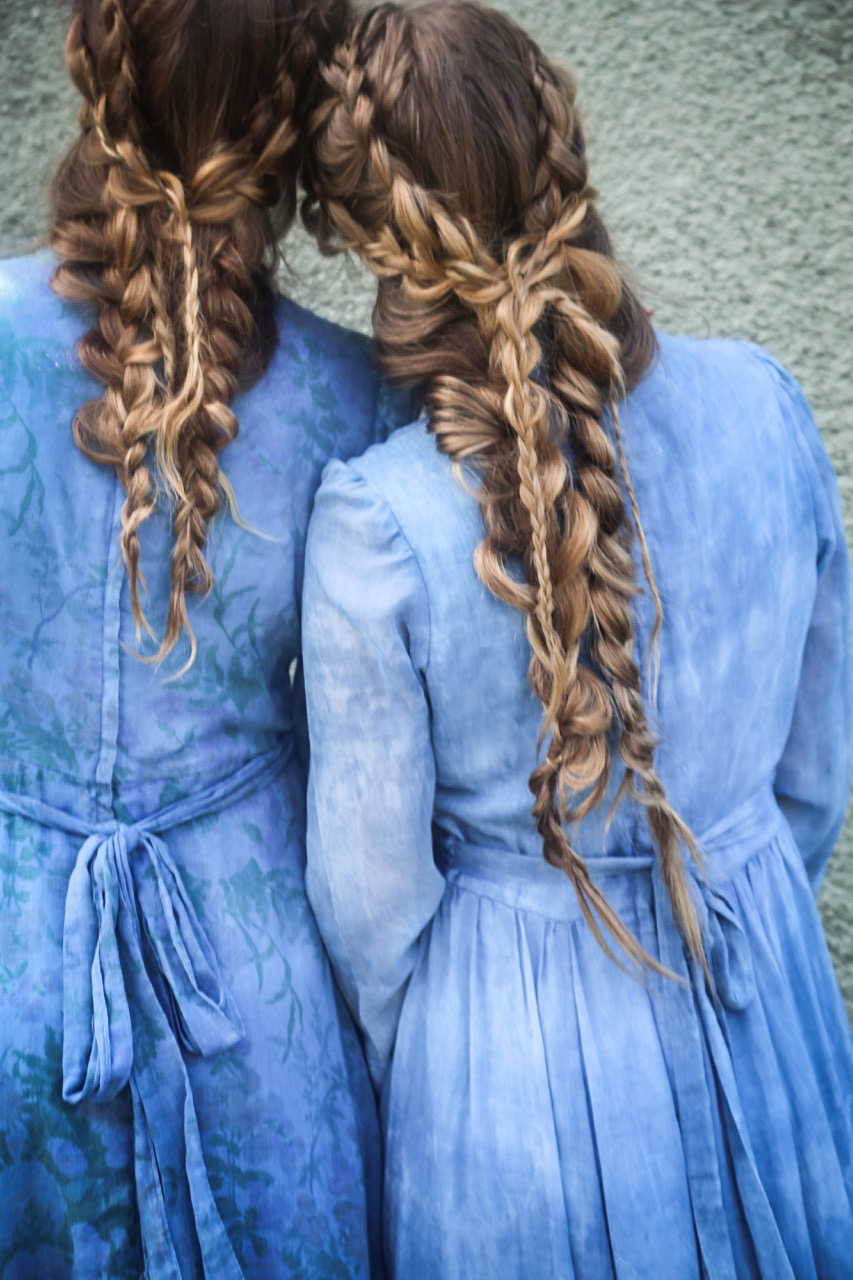
Today’s braids are soft and sultry, slept-on. JBF braids. Natural braids. Braids that look beautiful and effortless. Imagine Joni Mitchell, windows down on 110 heading towards Big Sur braids. Free Braids.
 I love this part because we get to rebel against that piece of us that still believes in that perfect smooth orderly braid but needs to break free. The key to the Free Braid is to start with a solid structure, then go back in and mess it up.
My hair mentor once told me that every great hairstyle depends of strong scaffolding. In the case of the braid, it means using a steady hand, even tension, yoga posture, conscious breath, and 3 cleanly divided sections of hair to work with.
Make sure your braid is tight and right to begin with……Do a nice solid 3 strand braid. Then, secure the ends, and spend some time pulling at the braid, tugging it cross wise from either edge, widening it and softening it. Start at the ends, and work your way up towards the base of the braid.
Pull some hairs loose around your face. Loosen up the hair at your crown a bit to lift it up so you don’t get a flat spot. Muss it up. Shake it around.
Pro-Tip: If your hair has a lot of texture to it, or is very long or layered, you may be able to braid it all the way to the tiniest of itty-bitty ends and then let it hang free with no hair tie to secure it. This will allow it to naturally soften and unravel on it’s own.
Step 4. Step up your game.
Once you have embraced the basic deconstructed braid, it’s time to try out some new braid techniques, and play around with using different combinations of braids together in the hair. You can do this, I promise.
Here is what you need to learn now:
French braid. Dutch braid. Fishtail braid. Learn the mechanics of these braids……If you can do a simple 3 strand braid, you can do these 3 braids. Once you have these techniques down, you have the power to combine braids and get creative. Now you get to use your imagination.
Pro-tip: Remember the power of an accent braid! A simple braid can be made so much more interesting with the addition of a smaller braid hanging with it, or framing your face.
Step 5. The Power of the Tool
If you are feeling very challenged, know that with the proper tools, braiding can be made much easier. 
Add some things to your braid alter:
A mixed bristle brush: To detangle and prep the hair for easy braiding. Start smooth for much better results and a less frustrating process.
A braiding comb: For sectioning and making clean parts, and for my curly/ natural texture babes to detangle and prep the hair. 
Dry shampoo/texture powder: For fine hair and slippery hair especially! If you have trouble getting a good grip of your own hair, powder up first. I like to sprinkle powder directly onto my mixed-bristle brush and brush it through when I prep my hair for braiding. The powder will make it easier to braid, and also help the braid stay in better.
Salt spray: Same idea as Dry-shampoo, but a different employment. Mist it into your dry, pre-brushed hair to add texture, thickness and grip before you braid. For max results, powder first, brush, then spray with salt spray. Great braids for days.
Clear elastics: Secure them ends. Please don’t break the bank on clear elastics. Get them at any and all drug stores.
Bobby pins: The covertly secure bits of hair post braid. Again, don’t break the bank on these.
Step 6. Just Add flowers
Just take my word on this ones. Tuck what ever is in season at the flower shop, whatever is calling to you in your neighbors garden, or whatever green is creeping from the cracks in the concrete, into your hair. 
Wearing flowers in our hair is just a small yet powerful way to connect us to the natural world, and help us remember the simple beauty in life. Use your intuition on this one. Just find a little plant or flower that intrigues you and wear it in your hair.
I especially love to take a small fragrant flower like a Daphne and pin it into my braid with a bobby pin so I can catch the scent of it all day. Early Spring, the hellebores are great ones to adorn your braid with….And don’t discount wild greenery! Delicate leaves and creeping vines are also lovely.
Step 7. Make it Social
Get a bunch of your babes together and braid each other’s hair. I guarantee everyone will have a trick that they learned from their mom or grandma to add to the communal braid tool kit. 
Braiding is a matrilineal tradition that has been practiced in every documented culture. It is an inherently social art and practice. It is a skill best learned socially. So, grab a few bottles of wine and some dark chocolate, put on some tunes, light sage and candles. Braid each other’s hair. Viva la Braid Circle. Make it a thing.